DIY Drywall Repair: A Step-by-Step Tutorial for Beginners
AG
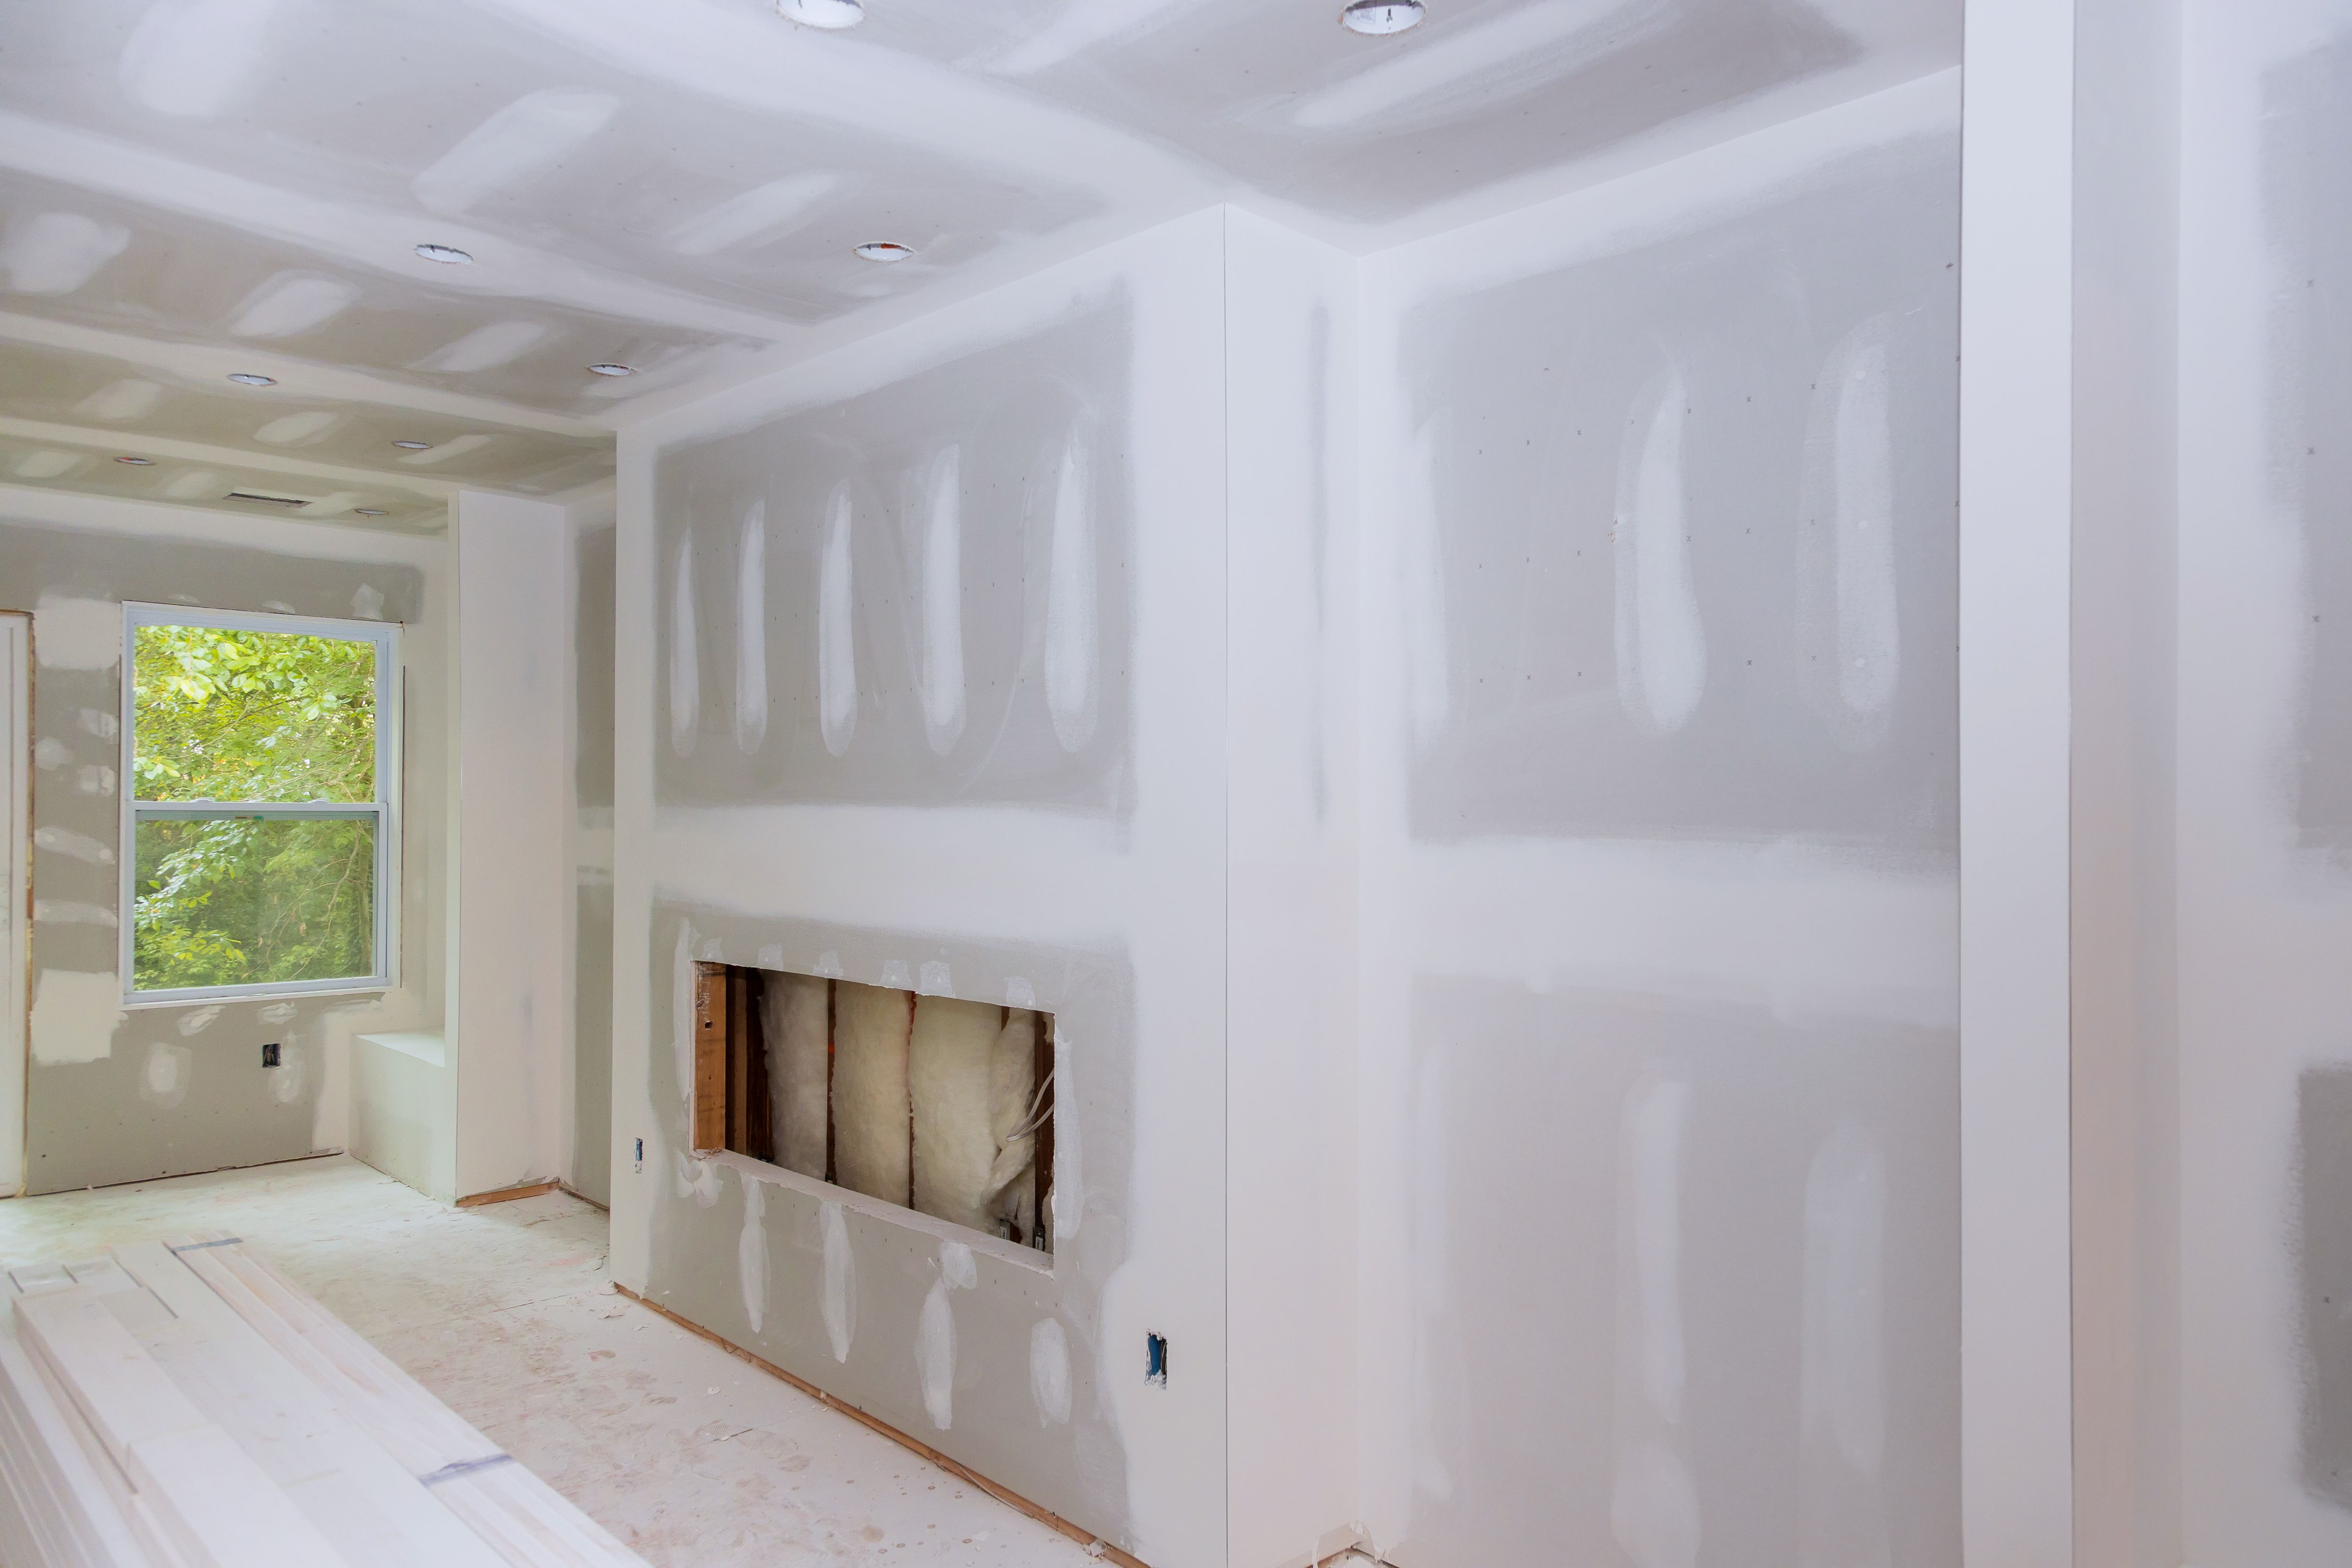
Introduction to DIY Drywall Repair
Drywall is a staple in modern homes, providing a smooth, paintable surface for walls and ceilings. However, it's not immune to damage. Whether it's due to accidental bumps or water leaks, knowing how to repair drywall can save you time and money. In this guide, we’ll walk you through the steps to tackle drywall repairs with confidence.
Gathering Your Tools and Materials
Before diving into the repair process, ensure you have all the necessary tools and materials. For a successful drywall repair, you'll need:
- Drywall compound
- Drywall patch or scrap drywall
- Putty knife
- Sandpaper or sanding sponge
- Utility knife
- Tape measure
- Paint and primer (if needed)
Having these items on hand will ensure a smooth repair process and help you achieve professional-looking results.
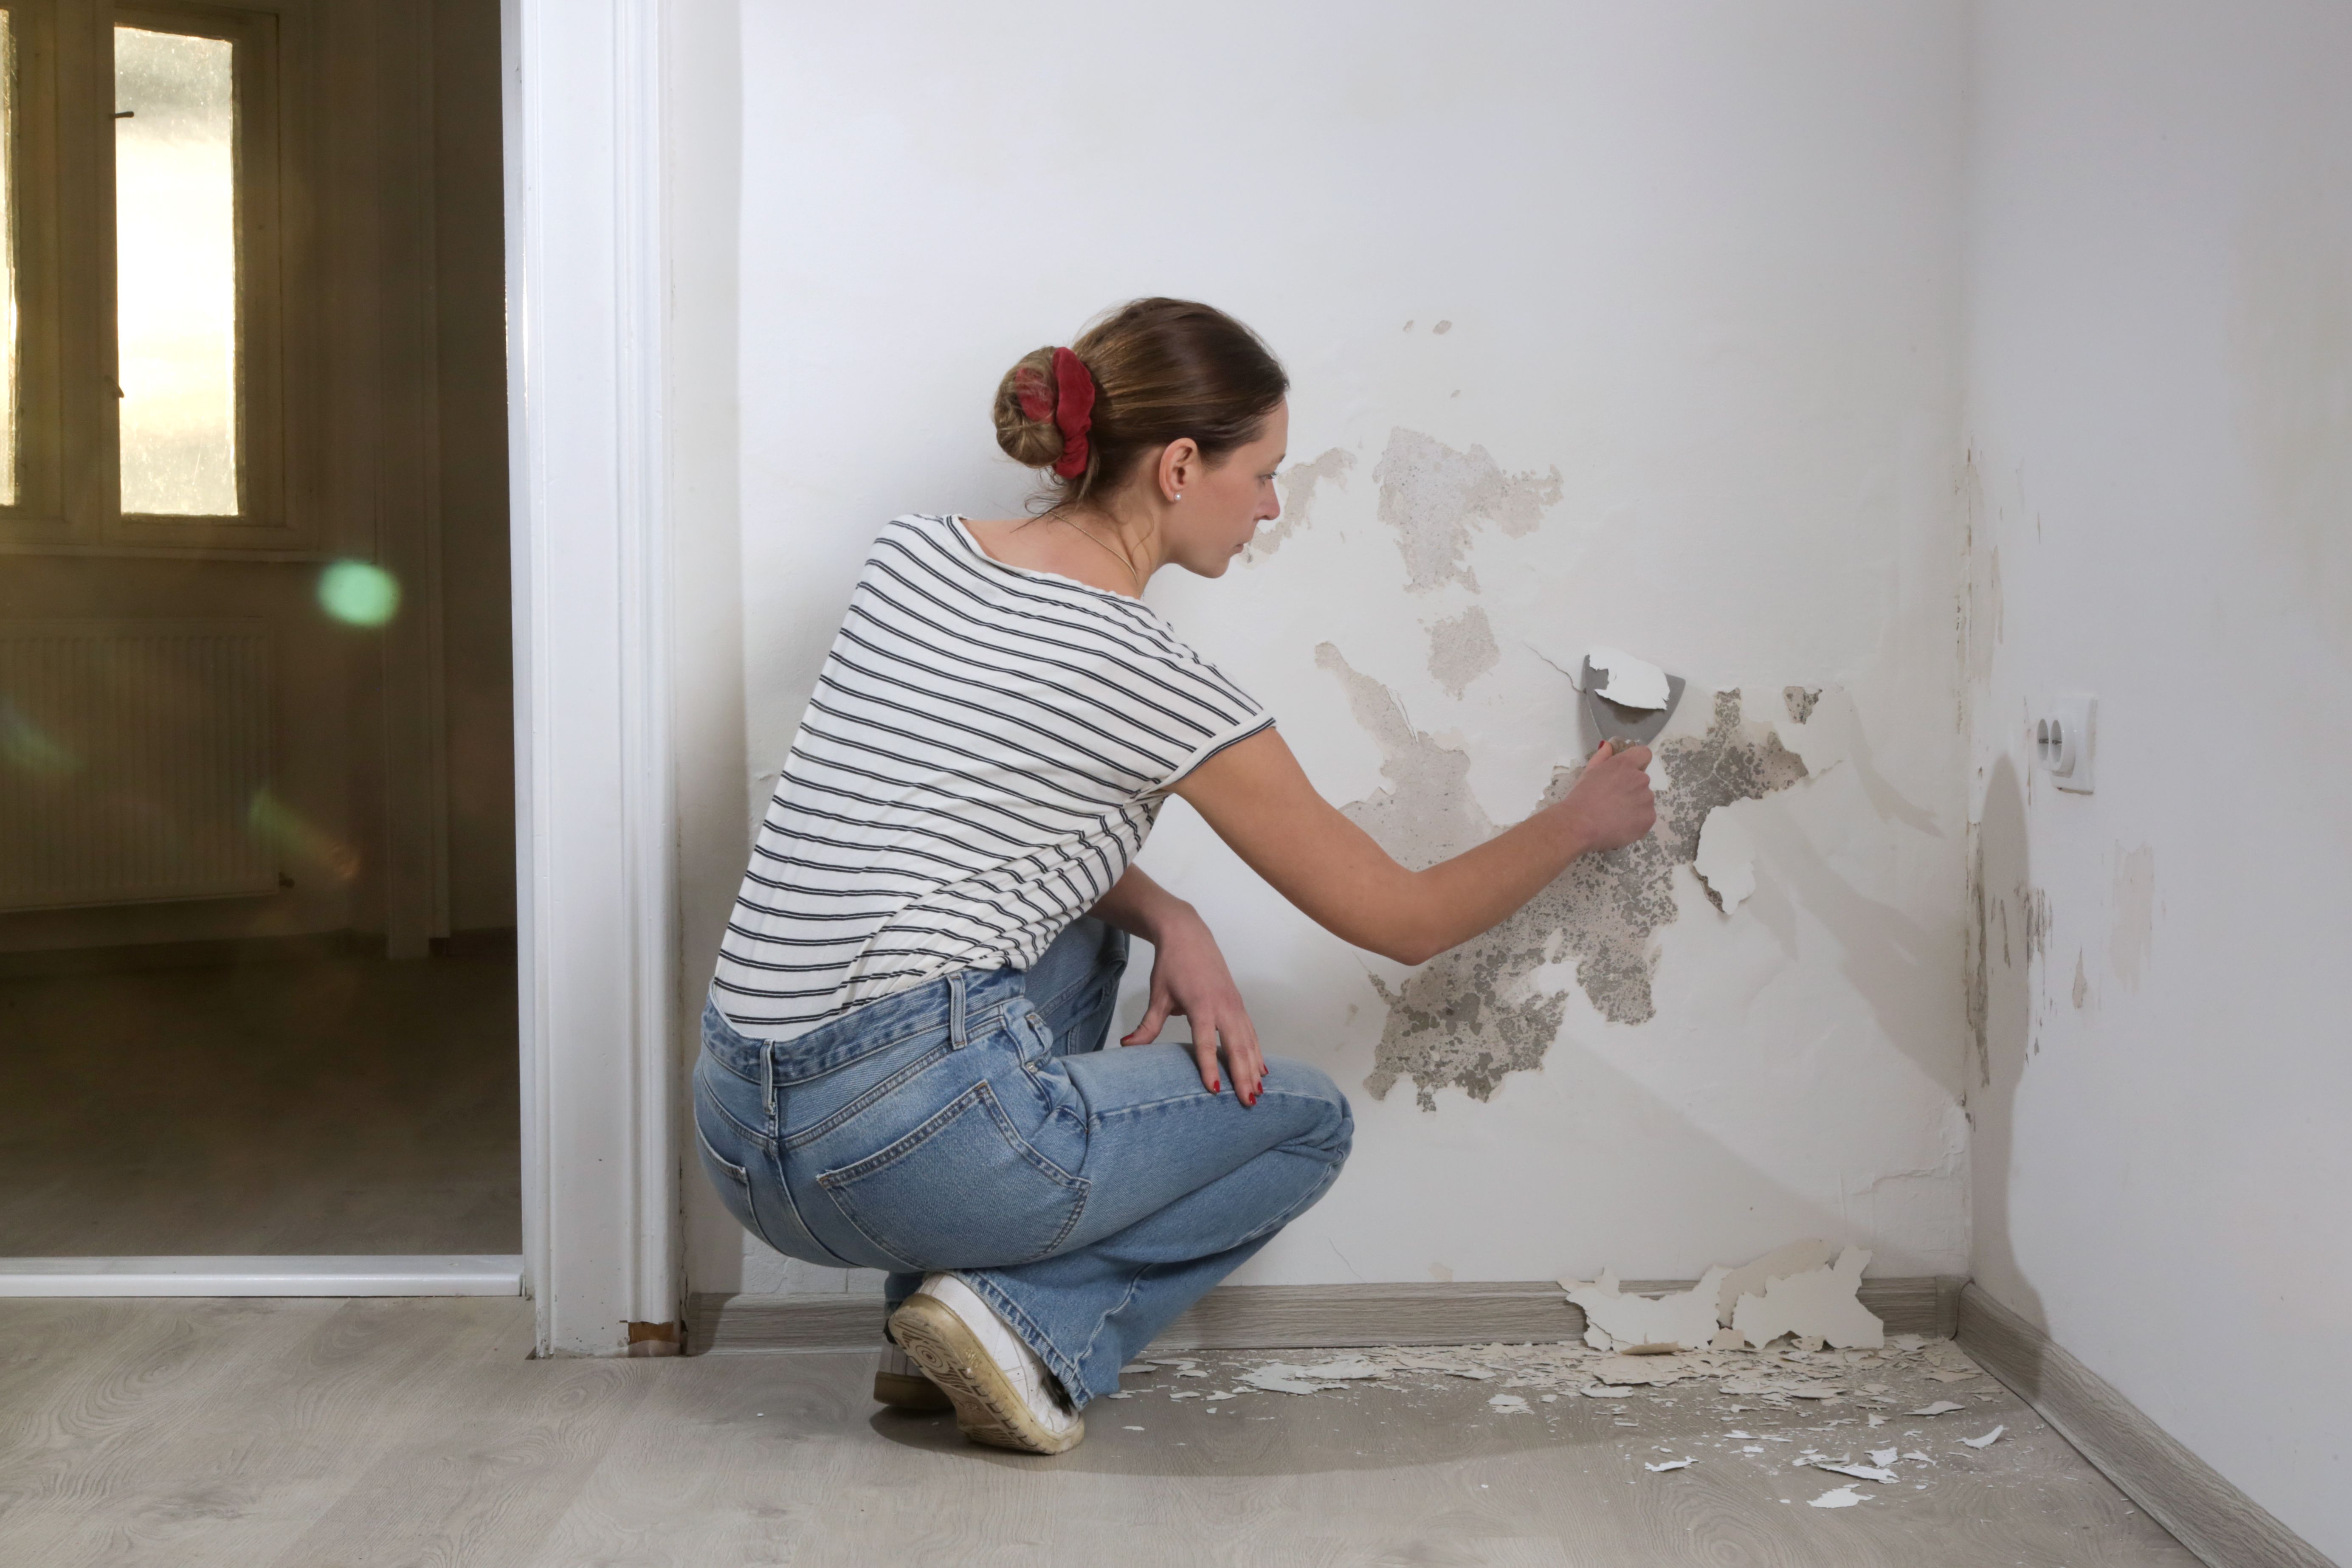
Assessing the Damage
The first step in any repair project is to assess the damage. Determine whether you’re dealing with small holes, large holes, or cracks. This will impact the type of repair technique you'll use. Small holes can often be fixed with just a bit of compound, while larger holes may require patches.
Repairing Small Holes and Cracks
For minor damage such as small holes or cracks, follow these straightforward steps:
- Use your putty knife to apply a small amount of drywall compound to the hole or crack.
- Smooth out the compound with the knife, ensuring it's flush with the wall.
- Allow it to dry completely, then sand the area until it's smooth.
- If necessary, apply a second coat of compound and repeat the process.
Patching Larger Holes
Larger holes require a bit more effort but are still manageable with some patience. Here's how:
- Cut a piece of drywall slightly larger than the hole.
- Trace the patch onto the wall and cut out the shape using a utility knife.
- Fit the patch into the hole, securing it with drywall screws if necessary.
- Apply drywall compound over the patch and feather out the edges with a putty knife.
- Let it dry, sand it smooth, and apply additional coats if needed.
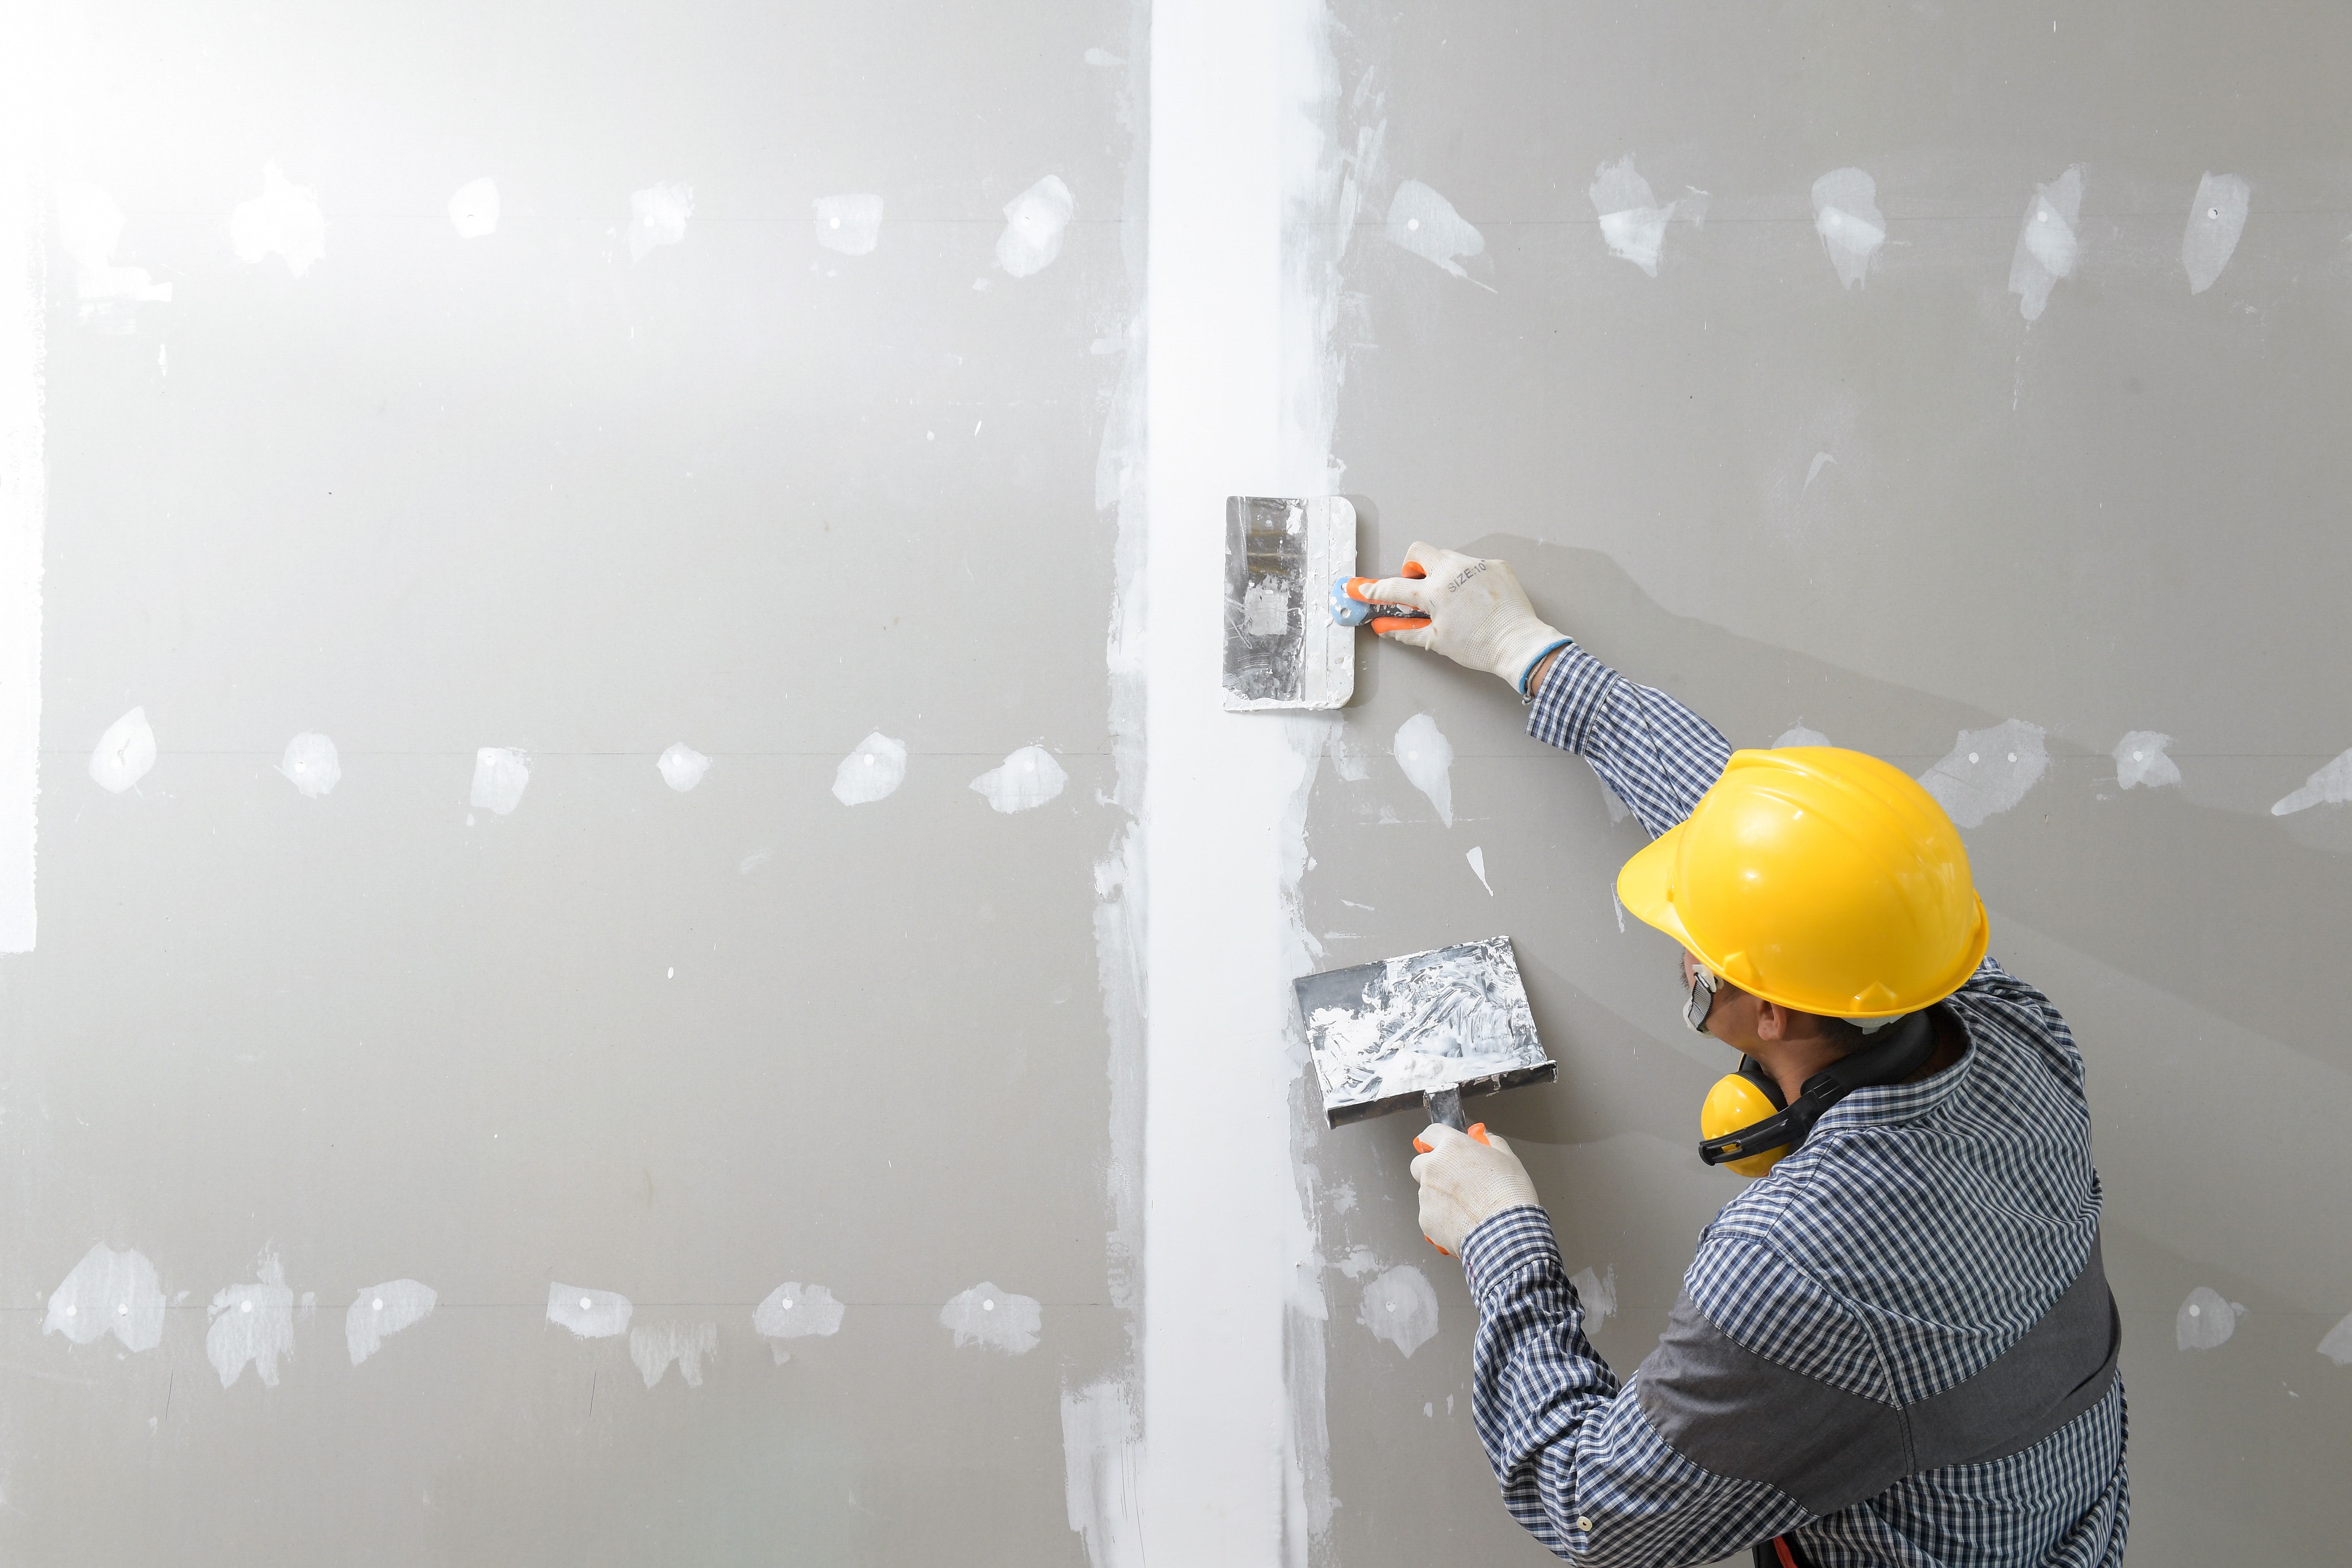
Sanding and Finishing Touches
Once your patched area is dry and smooth, it's time for the finishing touches. Use fine-grit sandpaper or a sanding sponge to achieve a seamless finish. Be gentle to avoid creating new imperfections. After sanding, wipe down the area with a damp cloth to remove dust.
Painting and Blending
After repairs are complete and the surface is smooth, it’s time to paint. Apply a coat of primer first to ensure even paint adhesion. Once the primer is dry, paint over the repaired area, blending it with the rest of the wall. This will help your repair disappear into the background.
With these steps, you can tackle most drywall repairs on your own. Regular maintenance and swift attention to damage will keep your walls looking pristine for years to come. Don't be afraid to take on these repairs yourself—it's a rewarding skill that enhances your home improvement toolkit.